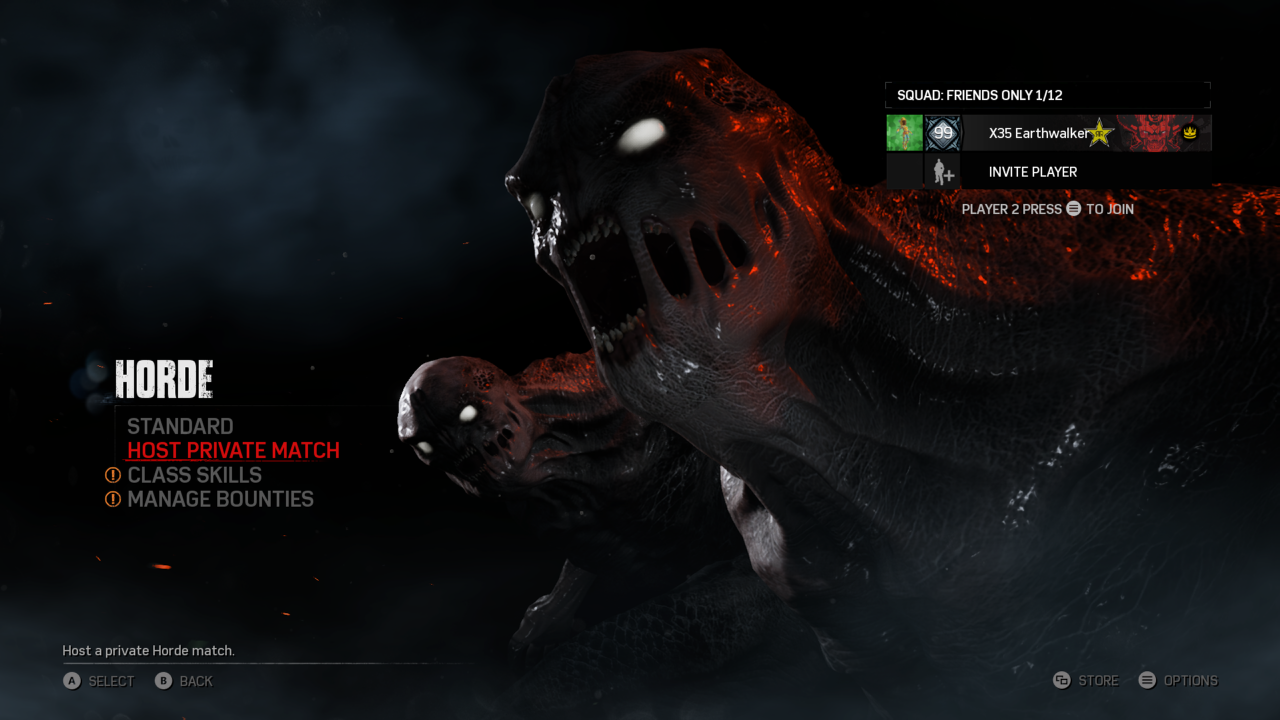
Gears of war 4 has some serious action for gamers but one mode that certainly stands out is Horde. Gears of war is an Xbox exclusive and no we don’t care if you can play it on PC. PC isn’t a console, it’s a computer and therefore doesn’t count. Many players have tried to beat all 50 waves of horde in Hardcore difficulty and have failed. So the idea of taking on Insane scares them. Let’s take a look.
Insane is the hardest difficulty in the game. Players have way less health than normal and the enemies have more health than normal. Also the enemies are very accurate too. So when you see a drone charging a torque bow, make sure to take cover or die. Players literally die in a few shots and if you are anywhere near a boomshot or drop shot blast, then you are done for. So if you want to stand a chance in Horde then first things first… take cover or die. Second things second be completely aware of what’s going on and what enemies are around at all times. No excuses.
Plant the fabricator in a good spot where you have maximum visibility of the area and good amount of cover, preferably with some high cover too. All players must fight right next to cover and never be alone. Each player of the team needs to have from very good to excellent movement skills to be able to dodge incoming attacks, enemies and get around quickly. Each player’s selected class must have at the very least, 4 skill cards equipped. Communication is very helpful but the marking and pinging system works just fine though. Remember when we said “never be alone” well also make sure you aren’t all bunched up together so that one drop shot kills you all. We’ve seen it happen before when a team rushes to go receive someone and BOOM!
Let’s discuss the enemies. Some off course require more attention then others. Some enemies you can just handle yourself and the team doesn’t need to know. Enemies like the Scion Boomshot, buzzsaw and drop shot are problem with the drop shot being a major problem unless you are under a shelter. Enemies like them and guardians need to be marked and called out as they are capable of downing players instantly and running fortifications and entire structures. Once called out have the right player handle them unless you need two to destroy them quickly, the sooner the better. Lastly do not underestimate Juvies. Those little freaks can ruin everything. Just one sneaking in can down each player one by one. They can down you in two hits alone. Remember what we said, never fight alone because once downed enemies will rush towards you straight away to finish you off. Call out enemies and finish them quickly and appropriately.
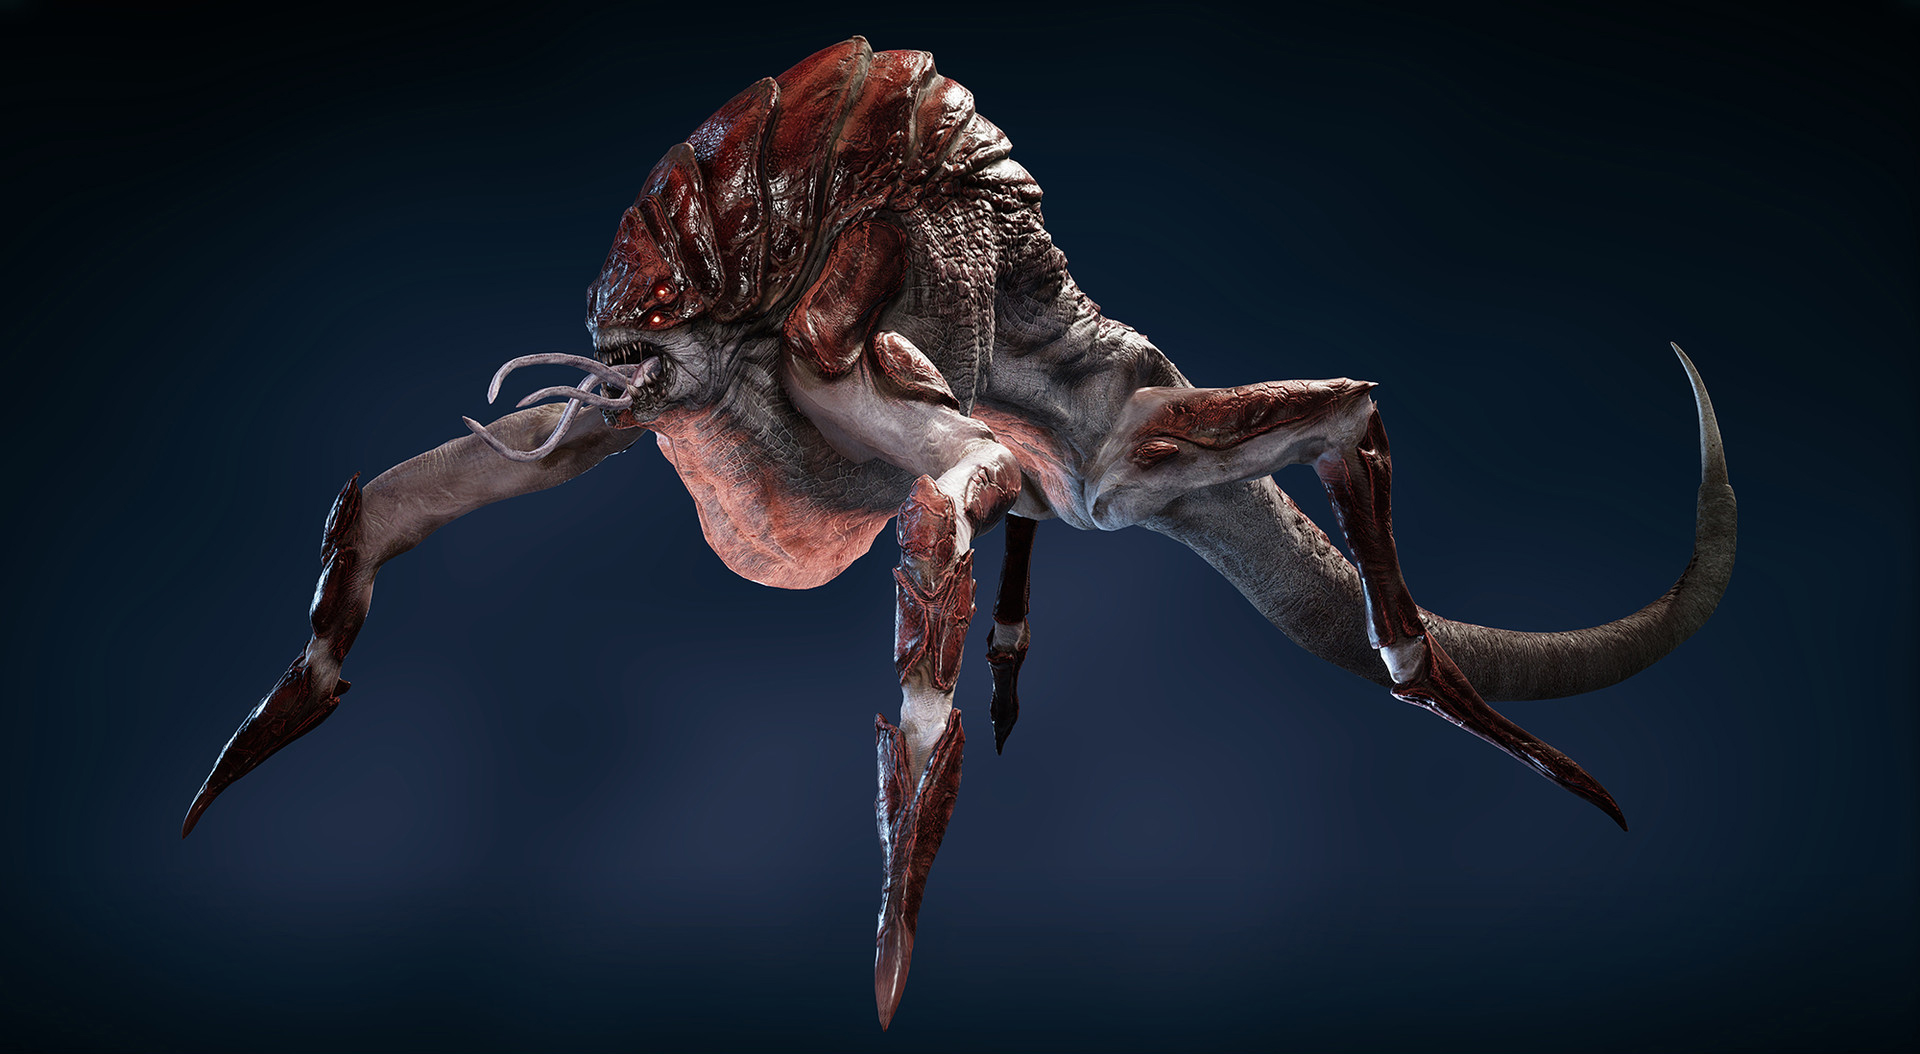
Bosses are the biggest threat and can seriously kill your run. Snatchers are considered the biggest threat and require everyones attention as they can advance on your base the fastest and damage everything real fast. They also have a one shot kill attack that forces everyone to take cover. Take these down fast. Kestrels are just annoying as they do keep their distance but can fire over cover, their missiles aren’t a one though so keep an eye on where it’s firing from and make the necessary adjustments. Soldiers are needed for these things. Carrier is considered the easiest as it moves super slow and it’s attacks are easy to stop. Get the soldiers or heavies to keep the explosions coming and they should be done for. Swarmak is considered the second worst thanks to it’s huge pool of health, constant firing and that it can walk right through your base forcing all to evacuate as coming near it’s foot results in an instant death. You must defeat these fast and everyone must focus it down. Bosses are literally unstoppable and requite immediate attention. The heaviest hitters must focus on them. As we mentioned, kestrels only need soldiers to handle if there are two thanks to their rifles. It isn’t easy for heavies to hit them with their boom shots. Call out to your team when a snatcher is charging up it’s one shot kill so that everyone can hide in Time. Swarmaks and snatchers need everyone shooting at it quick. Beware though as in later waves, when you kill. boss quick, another can spawn.
The main thing that must be discussed are the classes of the players. What to pick, what combination and what’s not needed at all. The classes are: soldier, heavy, sniper, engineer and scout. Now what’s needed? Every team for insane difficulty needs one scout (just one) because that’s where all the energy comes from. Scouts naturally gain double the amount of energy you would normally get as long as it’s during a wave. Soldiers are needed to be that versatile strong continuous damage dealer. The engineer is needed because they can seriously reduce the costs of fortifications and keep everything strong. Now the two that aren’t needed are heavies and snipers. This doesn’t mean they are useless. It just means they are not essential and it’s up to the team. Heavies deal the most damage of all classes but must stay topped up to do so but there are ways around this. Snipers can almost one shot anything with a head shot but requires more focus and skill due to aiming for head shots only. The best combination is most likely 2 soldiers, 1 engineer, 1 scout and 1 heavy. You could have 1 soldier, 1 scout, 1 engineer, one sniper and 1 heavy. Regardless never have two engineers or two scouts. We also never recommend having two snipers. Two snipers consume too much ammo boxes. Two scouts reduce the bonus of depositing energy as the total is shared. Two engineers just take up another class slot. One can easily handle the job.
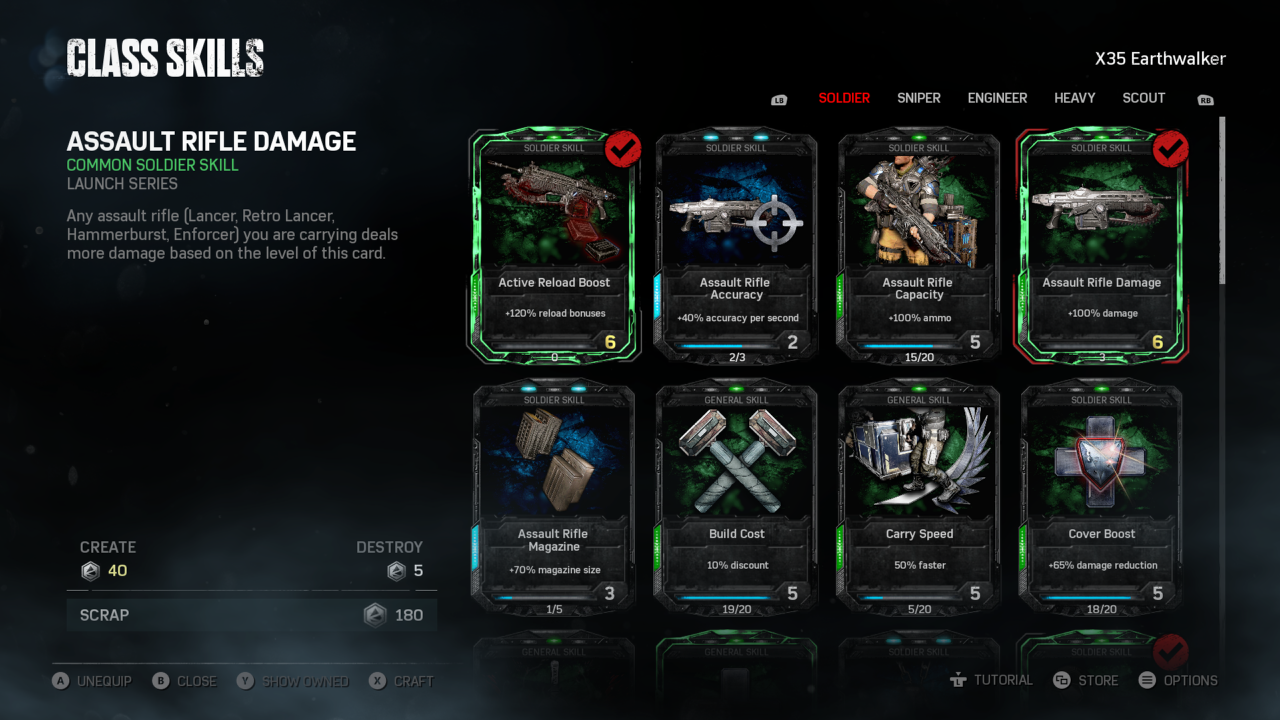
So your scout must deposit bonus in order to gain an extra 50% energy every time you deposit your energy which when combined with your double energy collection is crazy amounts of resources allowing your engineer to buy whatever you need. Scouts should also have health boost and dodge to make collecting the energy during waves much safer and keep you alive. peed boost is needed to get around much faster, rush to downed team mates to revive them and works so well with dodge. The Engineer must have repair boost as it saves a whole lot of energy by reducing the repair costs, remember you will be repairing all the time. Also turret discount and sentry cost are very good as they also save you a lot of money, especially when it comes to turrets which are the most expensive fortification. The soldier must have assault rifle damage, grenade damage and active reload boost. When the assault rifle damage and active reload boost are maxed out, your lancer becomes much stronger than the mulcher dealing insane damage to everything. Even big scions die incredibly fast. Grenade damage is to take out the clusters or that one strong target. For heavies we recommend explosive launcher capacity and damage because well max a drop shot that does 120% more damage than normal is devastating and having like 4 times more ammo than normal is a beautiful recipe but if you combine that with marked damage that’s an additional 50% damage and heavies are all about the damage. Lastly snipers need headshot and precision rifle damage for 170% damage increase on all headshots. You can then combine with called shot and magic bullet for that additional potential damage of 80% for a grant total of 250% on headshots.
Now in terms of how to play that’s ultimately up to the team but we can give a good idea. If soldiers have the resupply and grenade capacity cards they can hold 8 grenades and every 15 seconds get another free grenade, which means they can plant two grenades at spots to cover areas and alert team mates of enemies that come through places the team isn’t watching. You could even plant grenades to protect the sniper. The soldier is who should be handling all the juvies, trackers and small enemies. They must give continuous damage and blow up bigger targets with their grenades. The soldier literally just fights everything. Engineers need to get the fences up, a few decoys and definitely some turrets for the stronger more final waves. They alone should do all the building. Scouts need to be out there collecting all the energy while the wave is active, this is the most dangerous and so soldiers and other should be covering them. Grab the energy and drop it off every round as it’s the same amount as if you held on to it for many rounds. Snipers need a good spot of elevation and must be safe with a good exit route in case of emergency. Get those head shots all the time, that’s all you are good for. Heavies need to blow everything up, simple. Big guys? Blow them up. Smaller ones you can just rifle them down but when it comes to higher waves you will need to use your explosives, even for drones. Engineers need to build a weapon lockers for their heavies so they can get back major ammo without taking up a ammo box, off course all can use the locker but priority should go to the heavies. Why soldiers are so good is that with 8 powered up grenades they can take down bosses real fast and anything else for that matter and having the continuous firing rifles like the hammerburst, retro or regular lancers is excellent consistent damage. Soldiers can literally do anything. The scout is also in charge of reviving people all since they can become the fastest in the whole team.
Off course there is much more we can say like how if you had a whole team of one class, the soldier class would do the best. Something to think about but here is just some tips and things to think about when it comes to beating horde in insane difficulty. Find what works for yourself and do your best and don’t take things too seriously. So even if you beat all 50 waves in Insane difficulty you will never beat… the ‘Earth Walk!’
For more information check out the link below: